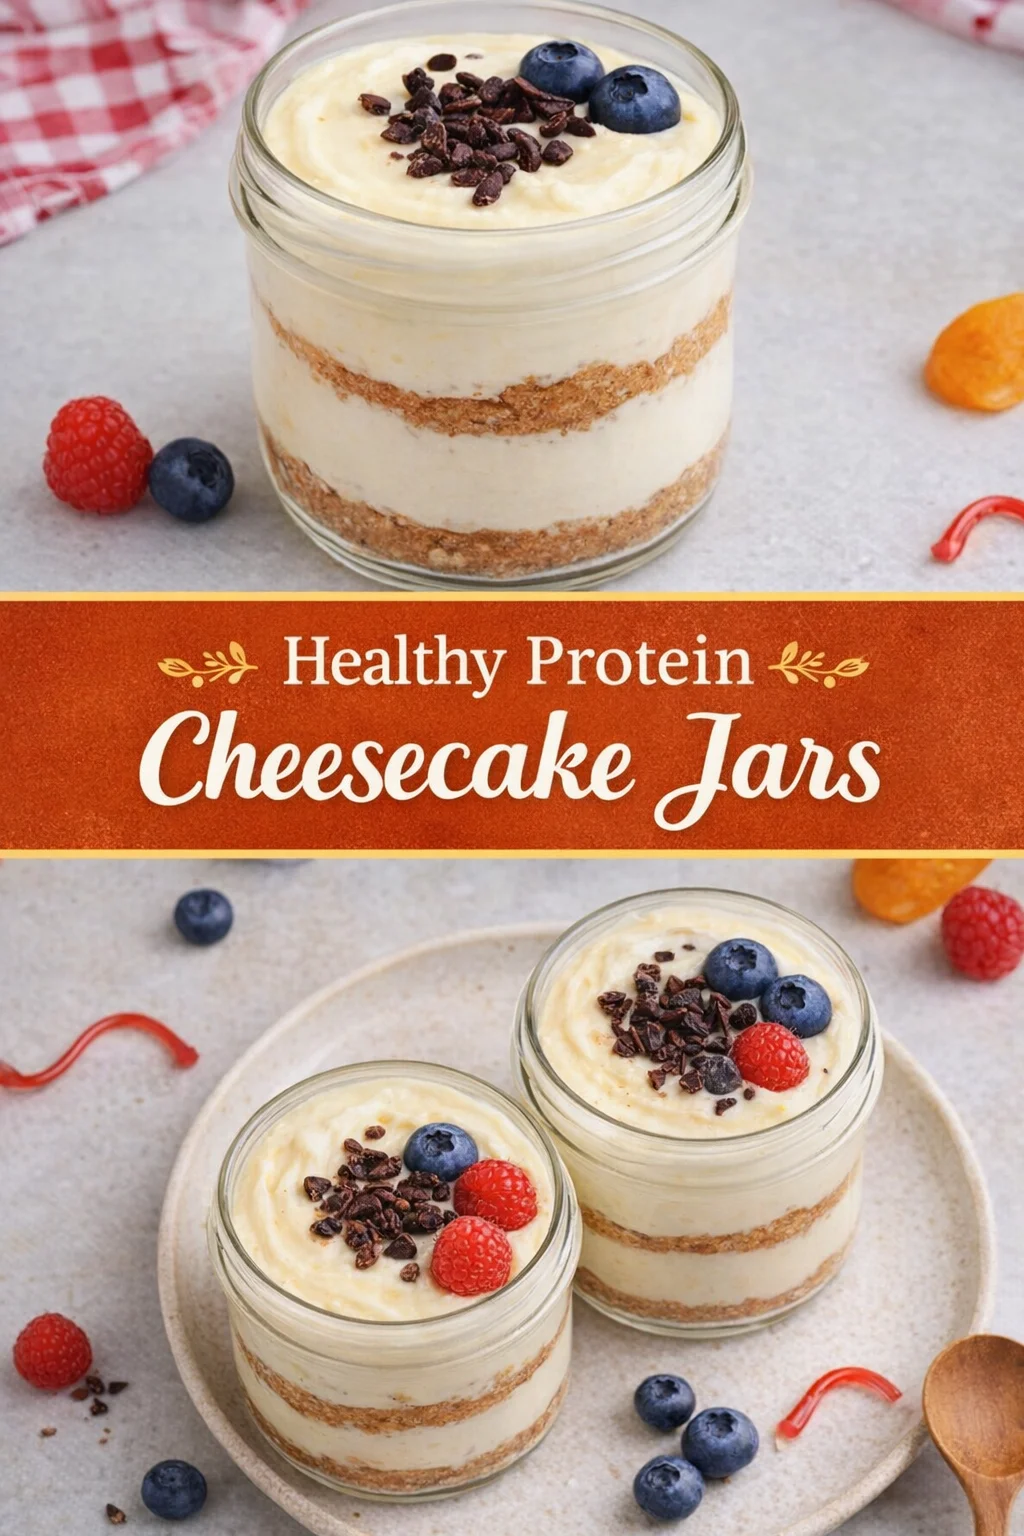
Healthy Protein Cheesecake Jars
Introduction
Imagine walking into your kitchen, the late afternoon sun casting a warm glow over everything, and the comforting smell of vanilla wafting through the air. There’s something undeniably magical about creating a dessert that not only satisfies your sweet tooth but also nourishes your body. This is where my heart lies, sharing a recipe that has become a cozy favorite for my family—Healthy Protein Cheesecake Jars. These delightful little jars are a celebration of creamy, cheesecake goodness, with a healthy twist that makes them perfect for any time of day.
Why You’ll Love This Recipe
This recipe has quickly turned into a staple in our home, and here’s why you’ll love it too:
- Quick and Easy: With just 15 minutes of prep time, you can whip these jars up in no time, making it a fantastic homemade treat for busy weeknights.
- Family-Friendly: These jars bring the family together, making dessert feel special without all the guilt. Everyone—from kids to grandparents—will love them!
- Indulgent Yet Healthy: Packed with protein and healthier ingredients, these jars give you that satisfying dessert experience without the post-dessert crash.
- Versatile and Festive: Dress them up for holidays or keep them simple for a weeknight dessert. You can customize them for any occasion!
Ingredients with Notes
Let’s gather our ingredients. Here’s what you’ll need for your Healthy Protein Cheesecake Jars:
- 8 oz Cream Cheese (softened): This is essential for that classic cheesecake flavor. Go for low-fat if you like!
- 1/2 cup Greek Yogurt: Provides creaminess and a protein boost. You can swap it for dairy-free yogurt if needed.
- 1/2 cup Protein Powder (vanilla or plain): The star ingredient for adding substantial protein. Choose your favorite brand.
- 1/4 cup Honey or Maple Syrup: For a touch of sweetness—adjust to taste.
- 1 tsp Vanilla Extract: Pure to enhance all the flavors; make sure it’s the good stuff!
- 1/2 cup Graham Cracker Crumbs: For that delicious crust. Whole grain or gluten-free options work beautifully.
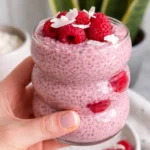
- Fresh Berries or Fruit of Choice: To layer on top for added flavor and nutrition, think strawberries or blueberries!
Prep and Cook Time
- Prep Time: 15 minutes
- Total Time: 15 minutes
The best part? There’s no cooking involved, just simple assembly that leaves you time to clean up or enjoy a warm cup of tea.
Step-by-Step Cooking Instructions
Ready to dive in? Let’s create some magic in a few simple steps:
-
Prepare the Base: In a mixing bowl, combine the softened cream cheese, Greek yogurt, protein powder, honey (or maple syrup), and vanilla extract. Use a hand mixer or stand mixer for about 2-3 minutes until it’s smooth and creamy. You’ll appreciate how the smooth texture is forming.
-
Mix in the Crust: In another bowl, combine the graham cracker crumbs with a little melted butter (about 2 tablespoons) to help bind it. You should feel the delightful crumbly texture under your fingers.
-
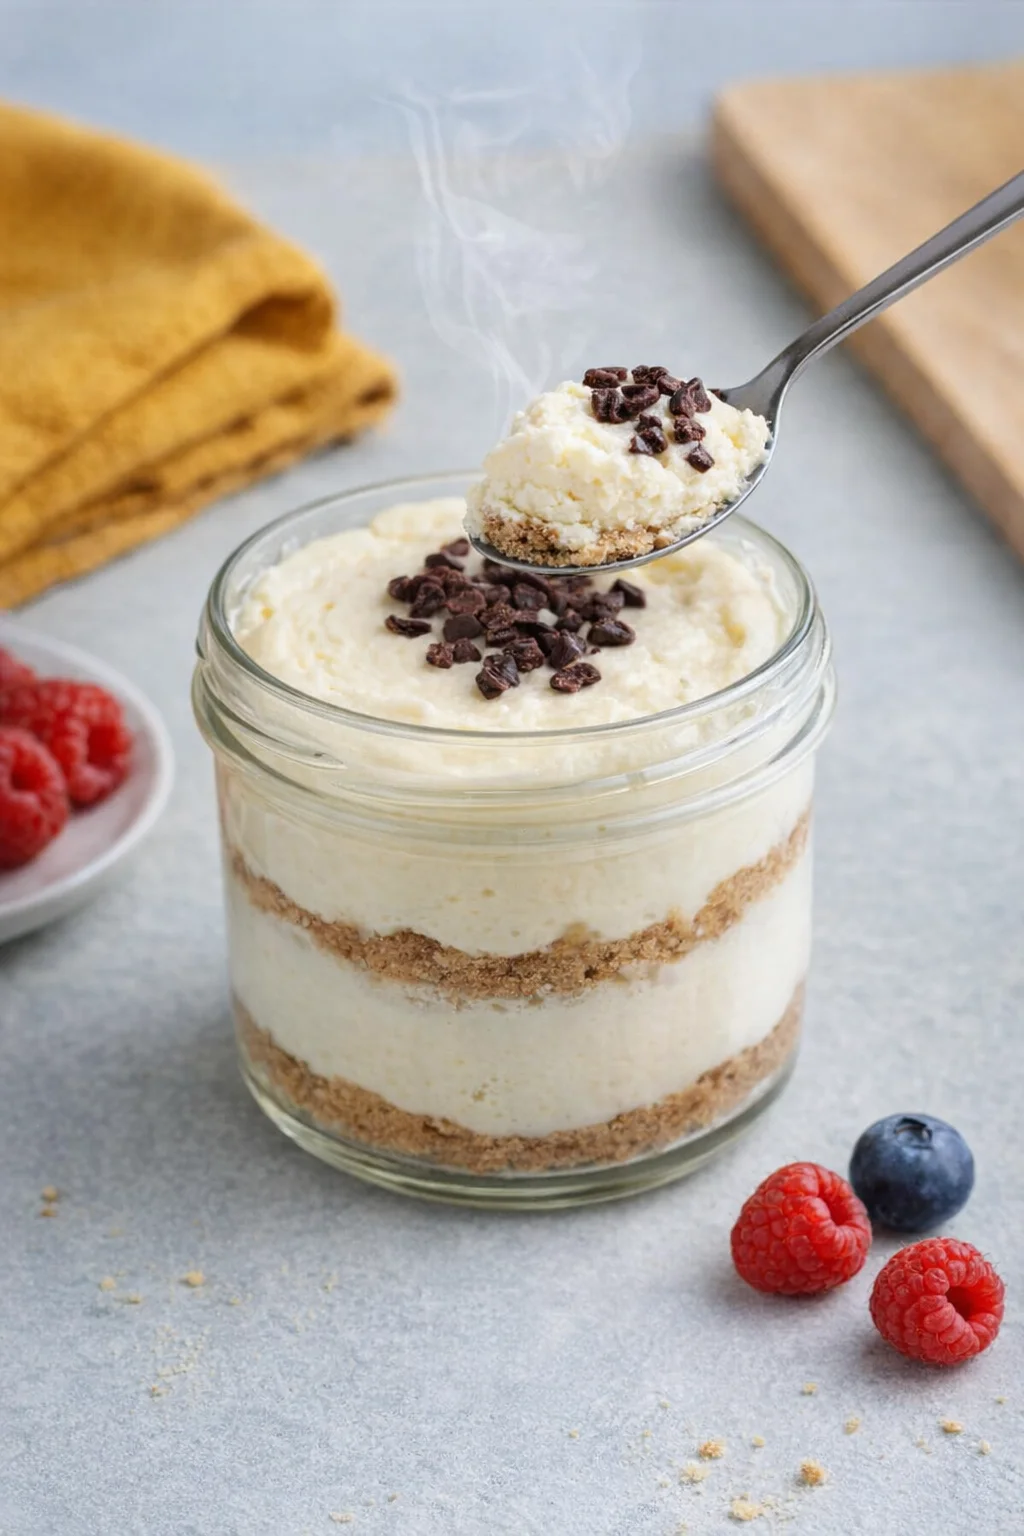
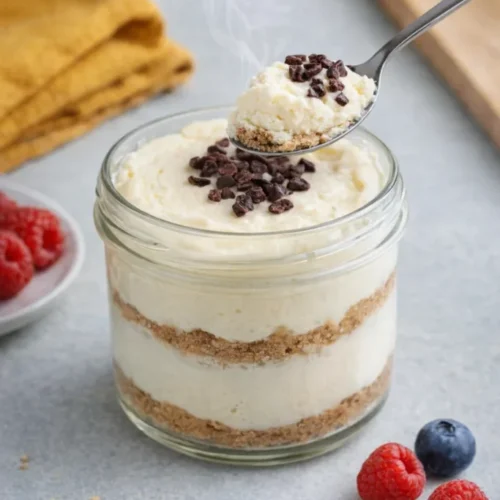
Layer It Up: Grab your jars or small dessert glasses. Start with a spoonful of the graham cracker mixture at the bottom, followed by a generous layer of the cheesecake mixture. Repeat until you reach the top, leaving room for some fluffy berries.
-
Top It Off: Finish each jar with a handful of fresh fruit, a sprinkle of leftover graham cracker crumbs, or even a drizzle of honey. You’ll love how colorful and inviting they look!
-
Chill if Desired: While they’re delicious right away, letting them chill in the fridge for 30 minutes enhances the flavors and makes them even more refreshing.
Tips and Variations
Now that you have the base recipe, consider these enjoyable variations:
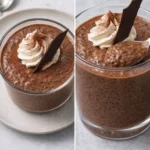
- Flavor Infusions: Add a teaspoon of lemon zest for a zesty twist or a tablespoon of cocoa powder for delicious chocolate cheesecakes.
- Fruit Swaps: Depending on the season, swap out the berries for peaches, mango, or apples. Think of it as a personalized touch!
- Nutty Crust: For a different texture, add finely chopped nuts or seeds to your crust mixture for an extra crunch.
Serving Ideas
These indulgent jars are perfect for a cozy family dinner or an elegant gathering. Serve them alongside a steaming cup of coffee or a refreshing herbal tea. Imagine sharing these after a comforting meal, everyone’s smiles glowing under dimmed lights as they dig into these healthy delights. They also make for a perfect take-along treat for potlucks or parties—easy to display and delightful to share!
Storage and Reheating
While these jars are best enjoyed fresh, they can last in the fridge for up to 3-4 days, covered tightly. If you want to prepare in advance, they freeze well too (up to a month). To enjoy them, just thaw in the fridge overnight, and they’re ready to go!
Chef’s Pro Tips
Here are a few insider tricks to help you nail this recipe:
- Soften Cream Cheese: Make sure your cream cheese is softened properly to avoid lumps. Let it sit at room temperature for about 30 minutes.
- Experiment with Sweetness: If you’re not a huge fan of sweetness, feel free to cut down on the honey or syrup. The yogurt and fruit will carry a lovely mild sweetness.
- Presentation: Use clear jars to show off the beautiful layers. A little garnish with mint or a dusting of cocoa adds flair too!
FAQs
1. Can I use a different sweetener?
Absolutely! Feel free to substitute honey or maple syrup with agave syrup, stevia, or any plant-based sweetener of your choice.
2. Is this recipe gluten-free?
You can easily make this recipe gluten-free by using gluten-free graham crackers.
3. How can I make this vegan?
Use a vegan cream cheese alternative and substitute the honey with a plant-based sweetener.
4. Can these jars be made in advance?
Yes! Make them a day ahead and store them in the refrigerator for easy serving the next day.
5. Can I add other flavors or ingredients?
Definitely! Feel free to experiment with flavors like almond extract or even add layers of chocolate or caramel for a richer treat.
Conclusion
As we gather around the table, the Healthy Protein Cheesecake Jars not only fill our bellies but also our hearts with joy. It’s more than just a dessert; it’s a warm reminder that sweet moments can be wholesome and guilt-free. Get together with your loved ones, share this delightful recipe, and watch as it brings smiles and satisfaction to everyone who digs in. Remember, food is more than just nourishment—it’s the love we share while enjoying it. So, grab your jars and start blending; happiness is just a scoop away!
Contents
Healthy Protein Cheesecake Jars
Ingredients
For the Cheesecake Base
- 8 oz Cream Cheese (softened) Go for low-fat if you like!
- 1/2 cup Greek Yogurt You can swap it for dairy-free yogurt if needed.
- 1/2 cup Protein Powder (vanilla or plain) Choose your favorite brand.
- 1/4 cup Honey or Maple Syrup Adjust to taste.
- 1 tsp Vanilla Extract Use pure for the best flavor.
For the Crust
- 1/2 cup Graham Cracker Crumbs Whole grain or gluten-free options work beautifully.
- 2 tbsp Melted Butter Use to help bind the crust.
For Topping
- 1 cup Fresh Berries or Fruit of Choice Think strawberries or blueberries!
Instructions
Preparation
- In a mixing bowl, combine the softened cream cheese, Greek yogurt, protein powder, honey (or maple syrup), and vanilla extract. Use a hand mixer or stand mixer for about 2-3 minutes until it’s smooth and creamy.
- In another bowl, combine the graham cracker crumbs with melted butter to help bind it.
- Grab your jars or small dessert glasses. Start with a spoonful of the graham cracker mixture at the bottom, followed by a generous layer of the cheesecake mixture. Repeat until you reach the top.
- Finish each jar with a handful of fresh fruit, a sprinkle of leftover graham cracker crumbs, or a drizzle of honey.
- Chill in the fridge for 30 minutes for enhanced flavor.
Notes

Written by khadija — founder of Dailypan, sharing easy, cozy homemade recipes for every occasion.